Friday, March 18, 2011
Down and Out and Mean Kids
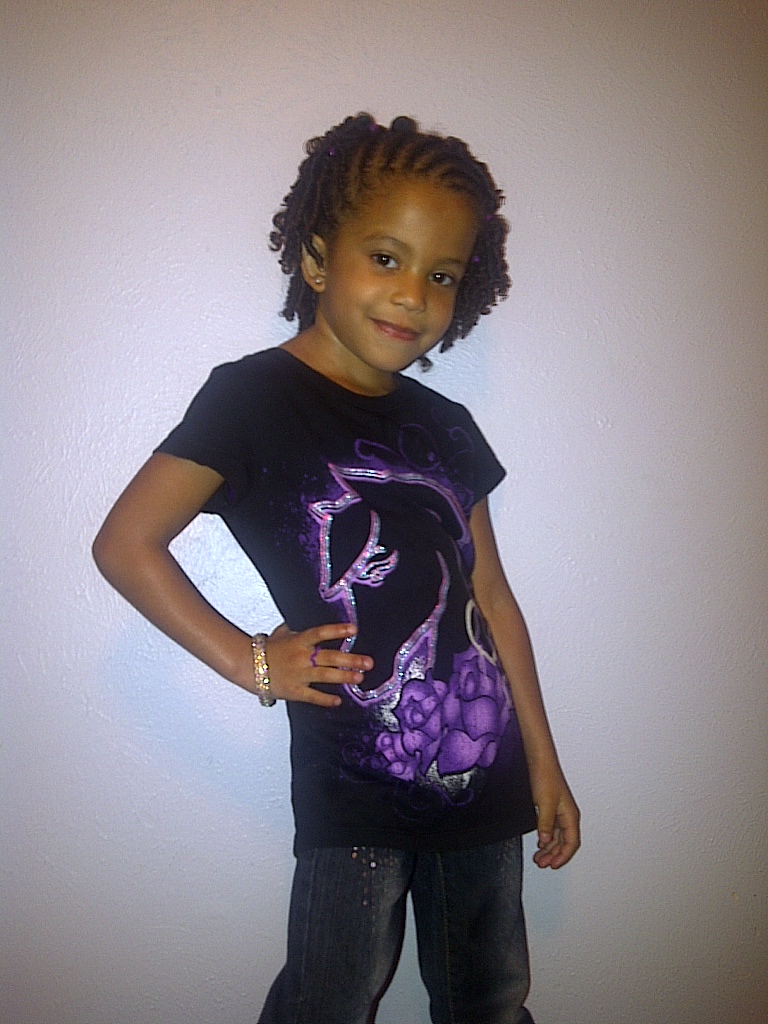
After the banded hairstyle I took all of the hair done, spritz it with water with shea oil mixed in, detangled, and added Bee Mine Curly Butter for an all natural style. Unfortunately, my little one has decided that her natural curls are "ugly" and did not want to wear her hair in this style to school. Since we did not have time to change the style, I sent her to school and we had a long talk about how special her hair is and how so many people wish they had curls as pretty as hers. When I picked her up from school, her hair was much bigger and frizzier which I can only assume was a result of her self-consiously trying to smooth her hair down, which as parents of 3C kids know too well, only makes the hair bigger. She told me that a little boy laughed at her hair. I asked her if it could have been for another reason and she told me it was definitely at her hair. I thought maybe she was just imagining what she had feared earlier that morning, but the next day her teacher confirmed that the little boy did laugh at her hair and that my daughter began crying and stayed distraught for most of the afternoon. As a mom, I want to have a nice long chat with the offending kid, but I know this may be the first of many slights to come, and I won't be able to take each mean kid aside for the rest of her life. Later that night, her dad taught her that famous phrase "Sticks and stones may break my bones, but words will never hurt me" She repeated the phrase the next day before she went into the classroom with natural hair again, this time with a side ponytail at the front of her head and down and curly in the back. I still haven't convinced her that her curls are cute, but she can't stop looking in the mirror whenever she has cornrows or braids. I'll keep working on this.........
Picture Day Style Prolonged

Friday, February 25, 2011
Picture Day Style
Since the piggyback braids didn't turn out well, we took down the style Wednesday night and just wet it and conditioned as it was just washed on Sunday morning. I added a leave-in conditioner and some Bee-Mine Moisturizer to her hair to detangle and sectioned her hair into six braids. I left them in for about an hour to stretch her hair a little, since I didn't have time to leave them in overnight and style the morning of picture day. I decided to do cornrows on the front of her hair and twists in the back. I used Taliah Wajid Lock and Twist Gel and Ogranic Root Stimulator Coconut oil on her cornrows and Bee Mine Curly butter for her twists. I parted her hair horizontally from just behind the ear. For the cornrows, I just parted off diagonal rows from the front of her hair and used purple elastics on the ends to secure them until I did the twists. For the twists I just parted the back into four sections and made small parts in each section. I used a spray bottle filled with water and drops of shea butter oil to dampen each section and added a small amount of the butter and just twisted the hair starting at the root and finishing at the ends. I added extra butter to the ends as they tend to dry out quickly. I find that these types of twists on 3C hair seem to resemble spiral curls and work just as well on teeny sections of hair to about an inch or so square sections. Twists that are larger then that on 3C hair (at least on my little one) will become loose quickly and not hold their shape. They will also poof like crazy! Once we were done, I let them air dry as much as possible before she went to bed. She slept on her satin pillow (as always) and in the morning the twists were a little flat on the sides of her hair where she had been sleeping. I just misted them quickly with the water/oil spray and re-twisted any that needed refreshing. I also sprayed a little braid spray on her cornrows and that was all I needed to do to get her camera ready. It took less then 10 minutes to refresh this style.
I'm not sure how long we will keep this style in, but I will post a picture before we take it out so you can see how long this style holds up. I really like the way this style turned out. The only problem is my daughter doesn't like her curls. She was upset because originally I was going to do box braids in back (her new fave) and then I changed my mind. I am starting to get concerned because she used to always request "all of it down" when I asked what we were going to do with her hair on any given day. She told me that she wants me to just put braids in her hair from now on. I think I will purposely start doing some down and out styles just so that she will not become accustomed to her hair being hidden in cornrows or braids. Although, I did promise her that I would put box braids in the back this weekend...... I'm such a pushover!


Thursday, February 24, 2011
Piggyback Braids
So I attempted piggy back braids for the first time on NeNe's hair on Sunday. Although they turned out just okay, I was not happy with them or the first attempts at sister twists I did on the back part of her hair. I discovered that the techniques used for type 4 hair, don't always work on my daughter and need to be adapted somewhat. I learned piggyback braids from the styling video on the Keep Me Curly blog at http://www.keepmecurly.com/p/cornrow-twist-videos.html but again, my daughters hair texture is quite different then the model in the video. I will try them again but I will work with hair that is wet instead of just damp, use more product, and make slightly larger boxes that extend further back on her head. 3C hair does not like to clump together as well as coarser textures. Despite the fact that I didn't get the results I wanted, I left her hair as it was because it was bedtime. I was quite surprised the piggy back braids did hold up fairly well for the three days we had them in. Here are a few pictures of the process and of the end result. Sorry about the awful lighting. I didn't attempt more because somebody was cranky and wanted to go to bed. We left the style in for three days, though on day 3 I took out the sister twists (not pictured) and did several box braids because she had soccer practice and the twists were getting messy.


I parted ear to ear and put the back end in an elastic to work just with the front of the hair

Here are a few rows done

Piggyback braids done, but not cute, I will get better. Did you see my first cornrows? LOL
Monday, February 21, 2011
Removing Yarn Braids
So Nene's yarn braids are finally out! I started yesterday and finished early this evening. It definitely takes more time to take them out then put them in. I noticed a little product buildup in her hair where the yarn met her natural hair near the scalp, but other then that her hair was pretty soft and healthy looking. I will most certainly do this style again, however I will leave them in longer then the 3 weeks we had them in this time because they are so time consuming. Tonight we just washed her hair, deep conditioned for 2 hours, moisturized and braided for sleeping. Now, what style should I do next? She has picture day coming up so....


Tuesday, February 15, 2011
Valentine's Day Style
Here is a picture of Nene's v-day style. She was so excited to have hearts on her head! I think it turned out pretty well. You might not be able to tell, but I braided in a piece of red yarn into the largest of the cornrowed hearts. As I was braiding, the yarn tended to hide under the hair. I'll have to practice this technique to get the yarn to be more prominent. On the ends of her hair I added pink, white, and red heart beads that I picked up from Hobby Lobby.


Saturday, February 12, 2011
Yarn Braids
So, last Thursday I put yarn braids in NeNe's hair for the first time. I must say that I am pretty pleased with the results. I ended up having to redo several of her braids and have changed my technique, but we will definitely do them again in the spring. As of today, they have been in 8 days and aside from the few I have replaced the overall condition of the style is good. Typically when I do box braids in NeNe's hair they start to look a little sad after 4 or 5 days. If you'd like to try them on your little girl, check out Kate's instructional video at http://www.youtube.com/watch?v=ENhQBwp5qvA.
Some tips for yarn braids:
Use a sport weight yarn for less bulky braids
Make sure to cut your strands longer then you think you will need, you can always trim them
Coat the yarn with whatever hair product you use to keep hair moist and to keep flyaways tucked in
Part the hair straight down the middle and ear to ear so that your styling options are maximized
Take breaks as needed, it is a long process but you should get a few weeks of quick styles with very little daily effort.
Keep hair moisturized by oiling the scalp at least every other day and moisturizing the braids at the ends of the natural hair
Subscribe to:
Posts (Atom)